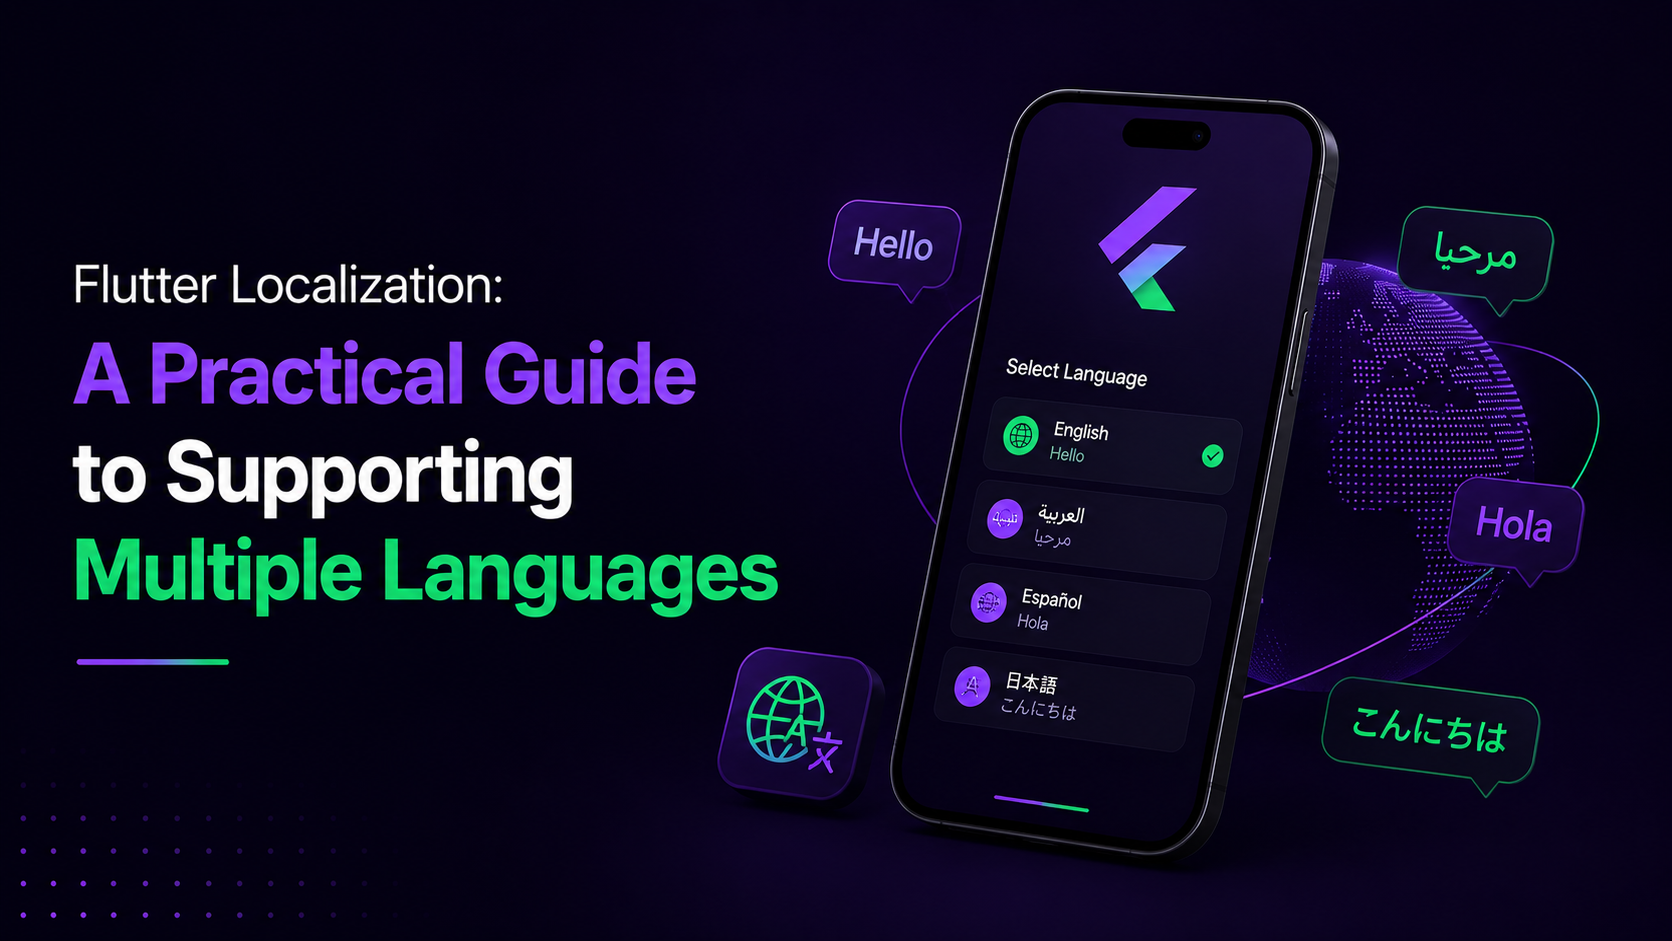
Flutter Localization: A Practical Guide to Supporting Multiple Languages
How I Actually Add Localization to a Flutter App (Step-by-Step, With Screenshots)
There are a lot of Flutter localization guides that explain the theory — .arb files, ICU plural rules, RTL layouts — without ever showing what the day-to-day workflow actually looks like inside VS Code. This is that missing piece: the exact click-by-click process I use on every app I ship, from a fresh install to a fully translated build.
This isn't the only way to localize a Flutter app, but it's the fastest path I've found from "hardcoded English strings everywhere" to "every screen speaks eight languages" without hand-writing a single translation key.
Step 1 — Install the Flutter Intl Extension
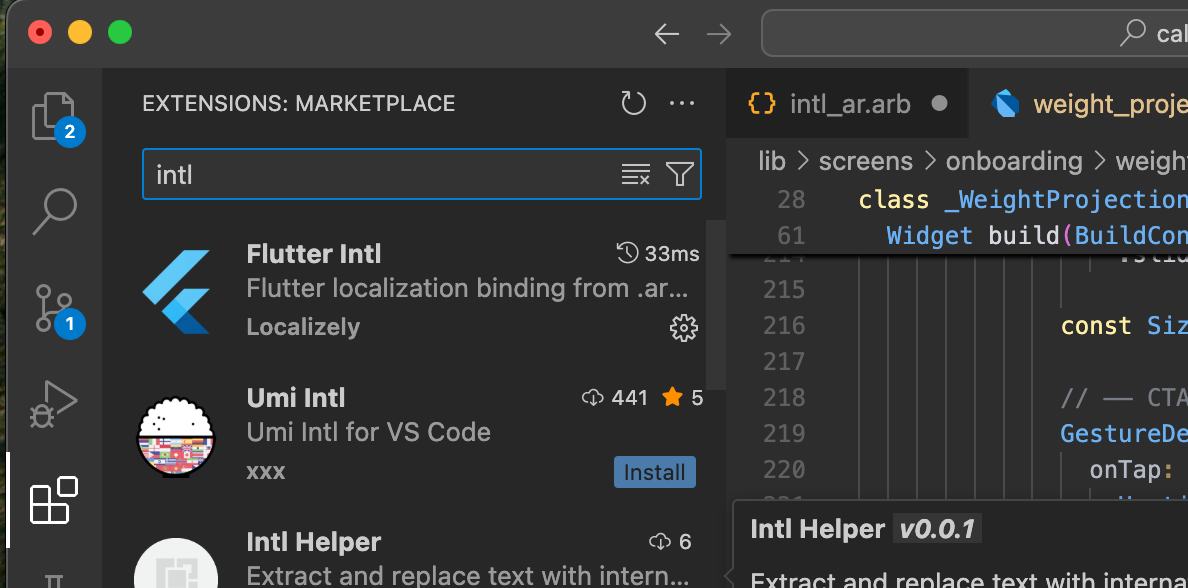
Open VS Code's Extensions panel (Cmd+Shift+X / Ctrl+Shift+X) and search for "Flutter Intl" by Localizely. This is the extension that gives you the yellow-lightbulb quick-fix later on — it's doing most of the heavy lifting in this whole workflow, so don't skip it.
Install it, then reload VS Code if it prompts you to.
Step 2 — Add the intl Package
In your terminal, from the project root:
1flutter pub add intlThis pulls in the actual intl package your generated localization code depends on at runtime — the VS Code extension handles code generation, but intl is what powers the generated code once it's running on-device.
Step 3 — Initialize Flutter Intl in Your Project
Open the Command Palette (Cmd+Shift+P / Ctrl+Shift+P) and run:
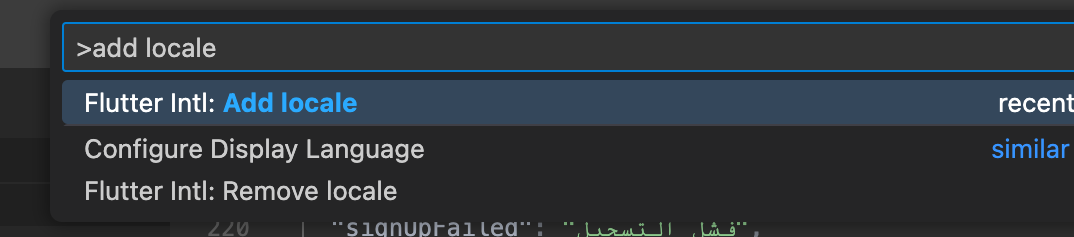
This does three things automatically:
- Creates an
l10n.yamlconfig file at your project root - Creates
lib/l10n/intl_en.arb— your source-of-truth English strings file - Creates
lib/generated/l10n.dart— the generated class you'll call asS.of(context).yourKeythroughout the app
Step 4 — Add Your Target Language Files
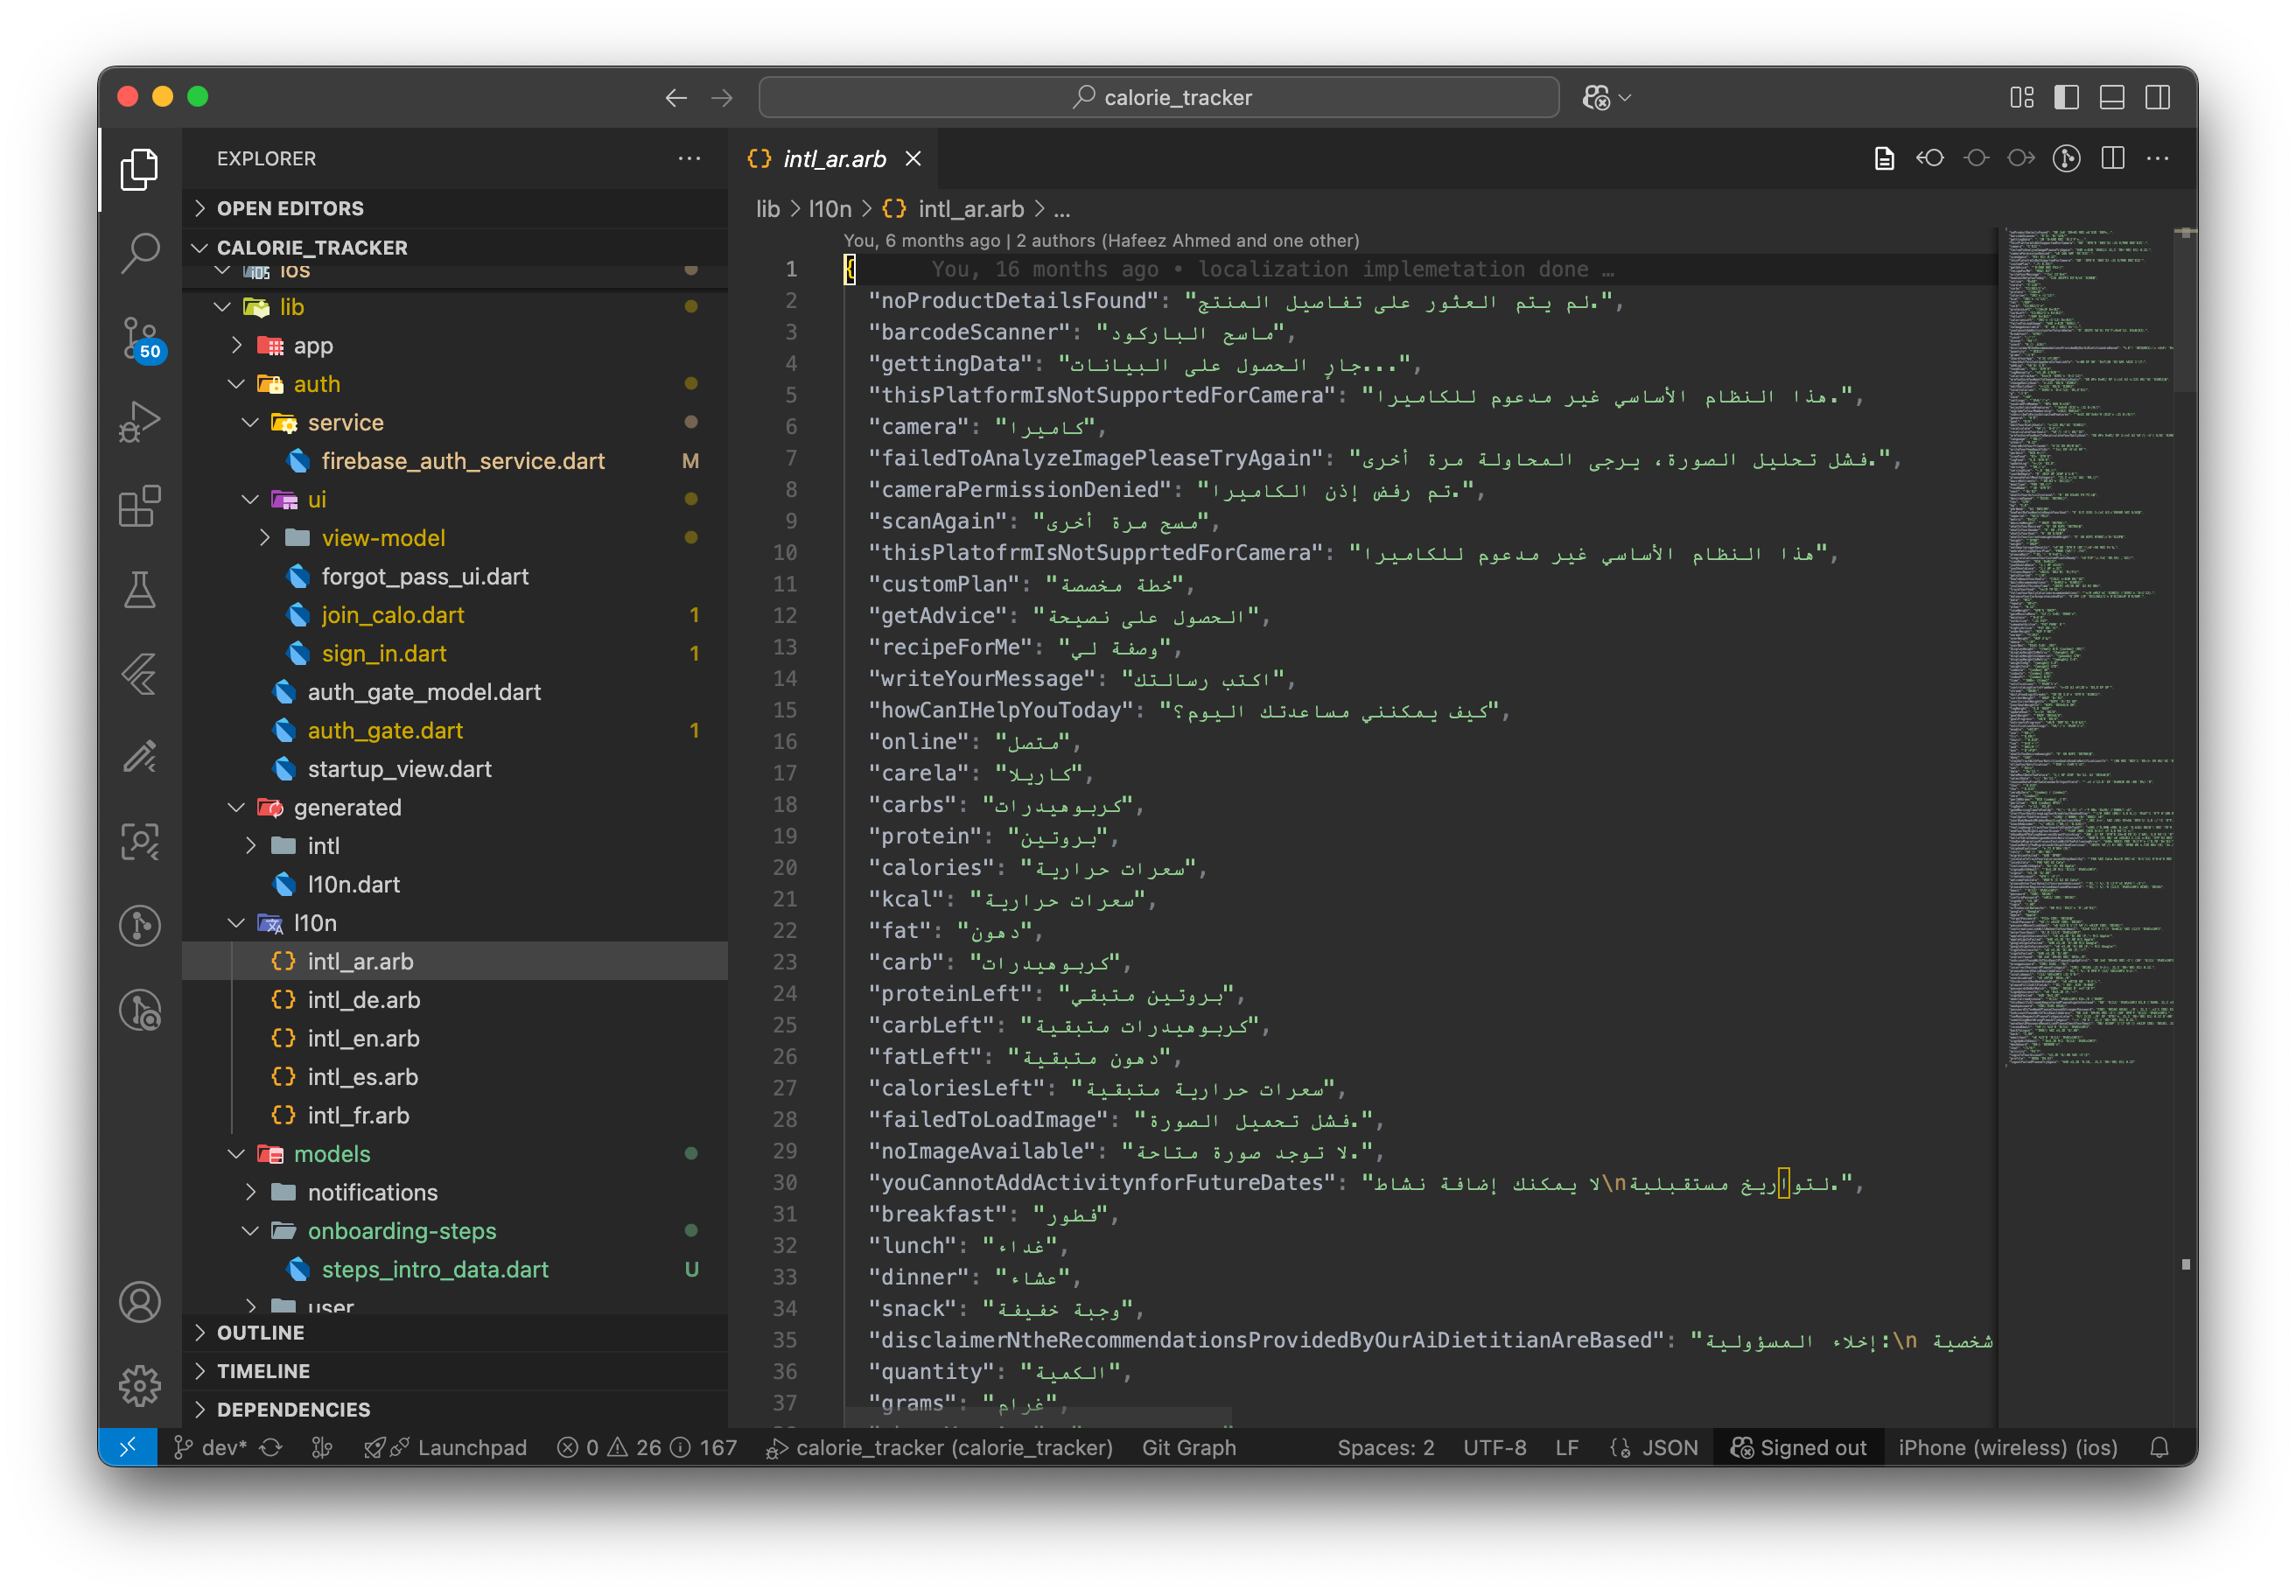
For every language you want to support, open the Command Palette again and run:
1Flutter Intl: Add LocaleType the locale code when prompted (e.g. ar for Arabic, de for German, fr for French). Repeat once per language. This creates a matching intl_<locale>.arb file next to your English one — e.g. intl_ar.arb, intl_de.arb — all still empty at this point, since no strings exist yet.
f
Step 5 — Convert Hardcoded Strings With the Yellow Lightbulb
This is the part that makes the whole workflow fast. Go through each screen in your app and find hardcoded string literals — Text('Welcome back'), hintText: 'Enter your email', and so on.
Click into the string. VS Code will show a yellow lightbulb (💡) in the gutter. Click it (or press Cmd+. / Ctrl+.), and select the Flutter Intl quick-fix option to extract it into a localization key.
What happens automatically:
- The string gets added as a new key in
intl_en.arb - The hardcoded string in your widget gets replaced with
S.of(context).yourGeneratedKey - The key name is auto-suggested based on the string content (you can rename it before confirming if you want something cleaner)
1 title: Text("Dashboard"),1 title: Text(S.of(context).dashboard),Step 6 — Repeat Across Every Screen
Work through your app screen by screen. This is the most time-consuming step, but it's mechanical — find a hardcoded string, lightbulb, confirm, move on. On a mid-sized app this usually takes a few focused hours rather than days, since there's no manual key-writing involved.
A couple of habits that save cleanup later:
- Rename auto-generated keys to something meaningful while you're extracting them, not after — going back to rename keys later means updating every call site again.
- Keep an eye out for strings with variables inside them (e.g.
'Hello, $name') — the quick-fix handles these too, generating an ICU placeholder in the.arbfile instead of a plain string.
Step 7 — Auto-Translate the Non-English ARB Files
Once every hardcoded string in the app has been extracted into intl_en.arb, your other locale files (intl_ar.arb, intl_de.arb, etc.) are still empty — they only have keys, no translated values yet.
Rather than hand-translating every key into every language, run an ARB translation tool from the terminal to auto-translate everything except your English source file in one pass:
1dart pub global activate arb_translate
2dart pub global run arb_translate
This reads your intl_en.arb as the source of truth and fills in every other intl_<locale>.arb file with translated values, keeping the same keys intact across all languages.
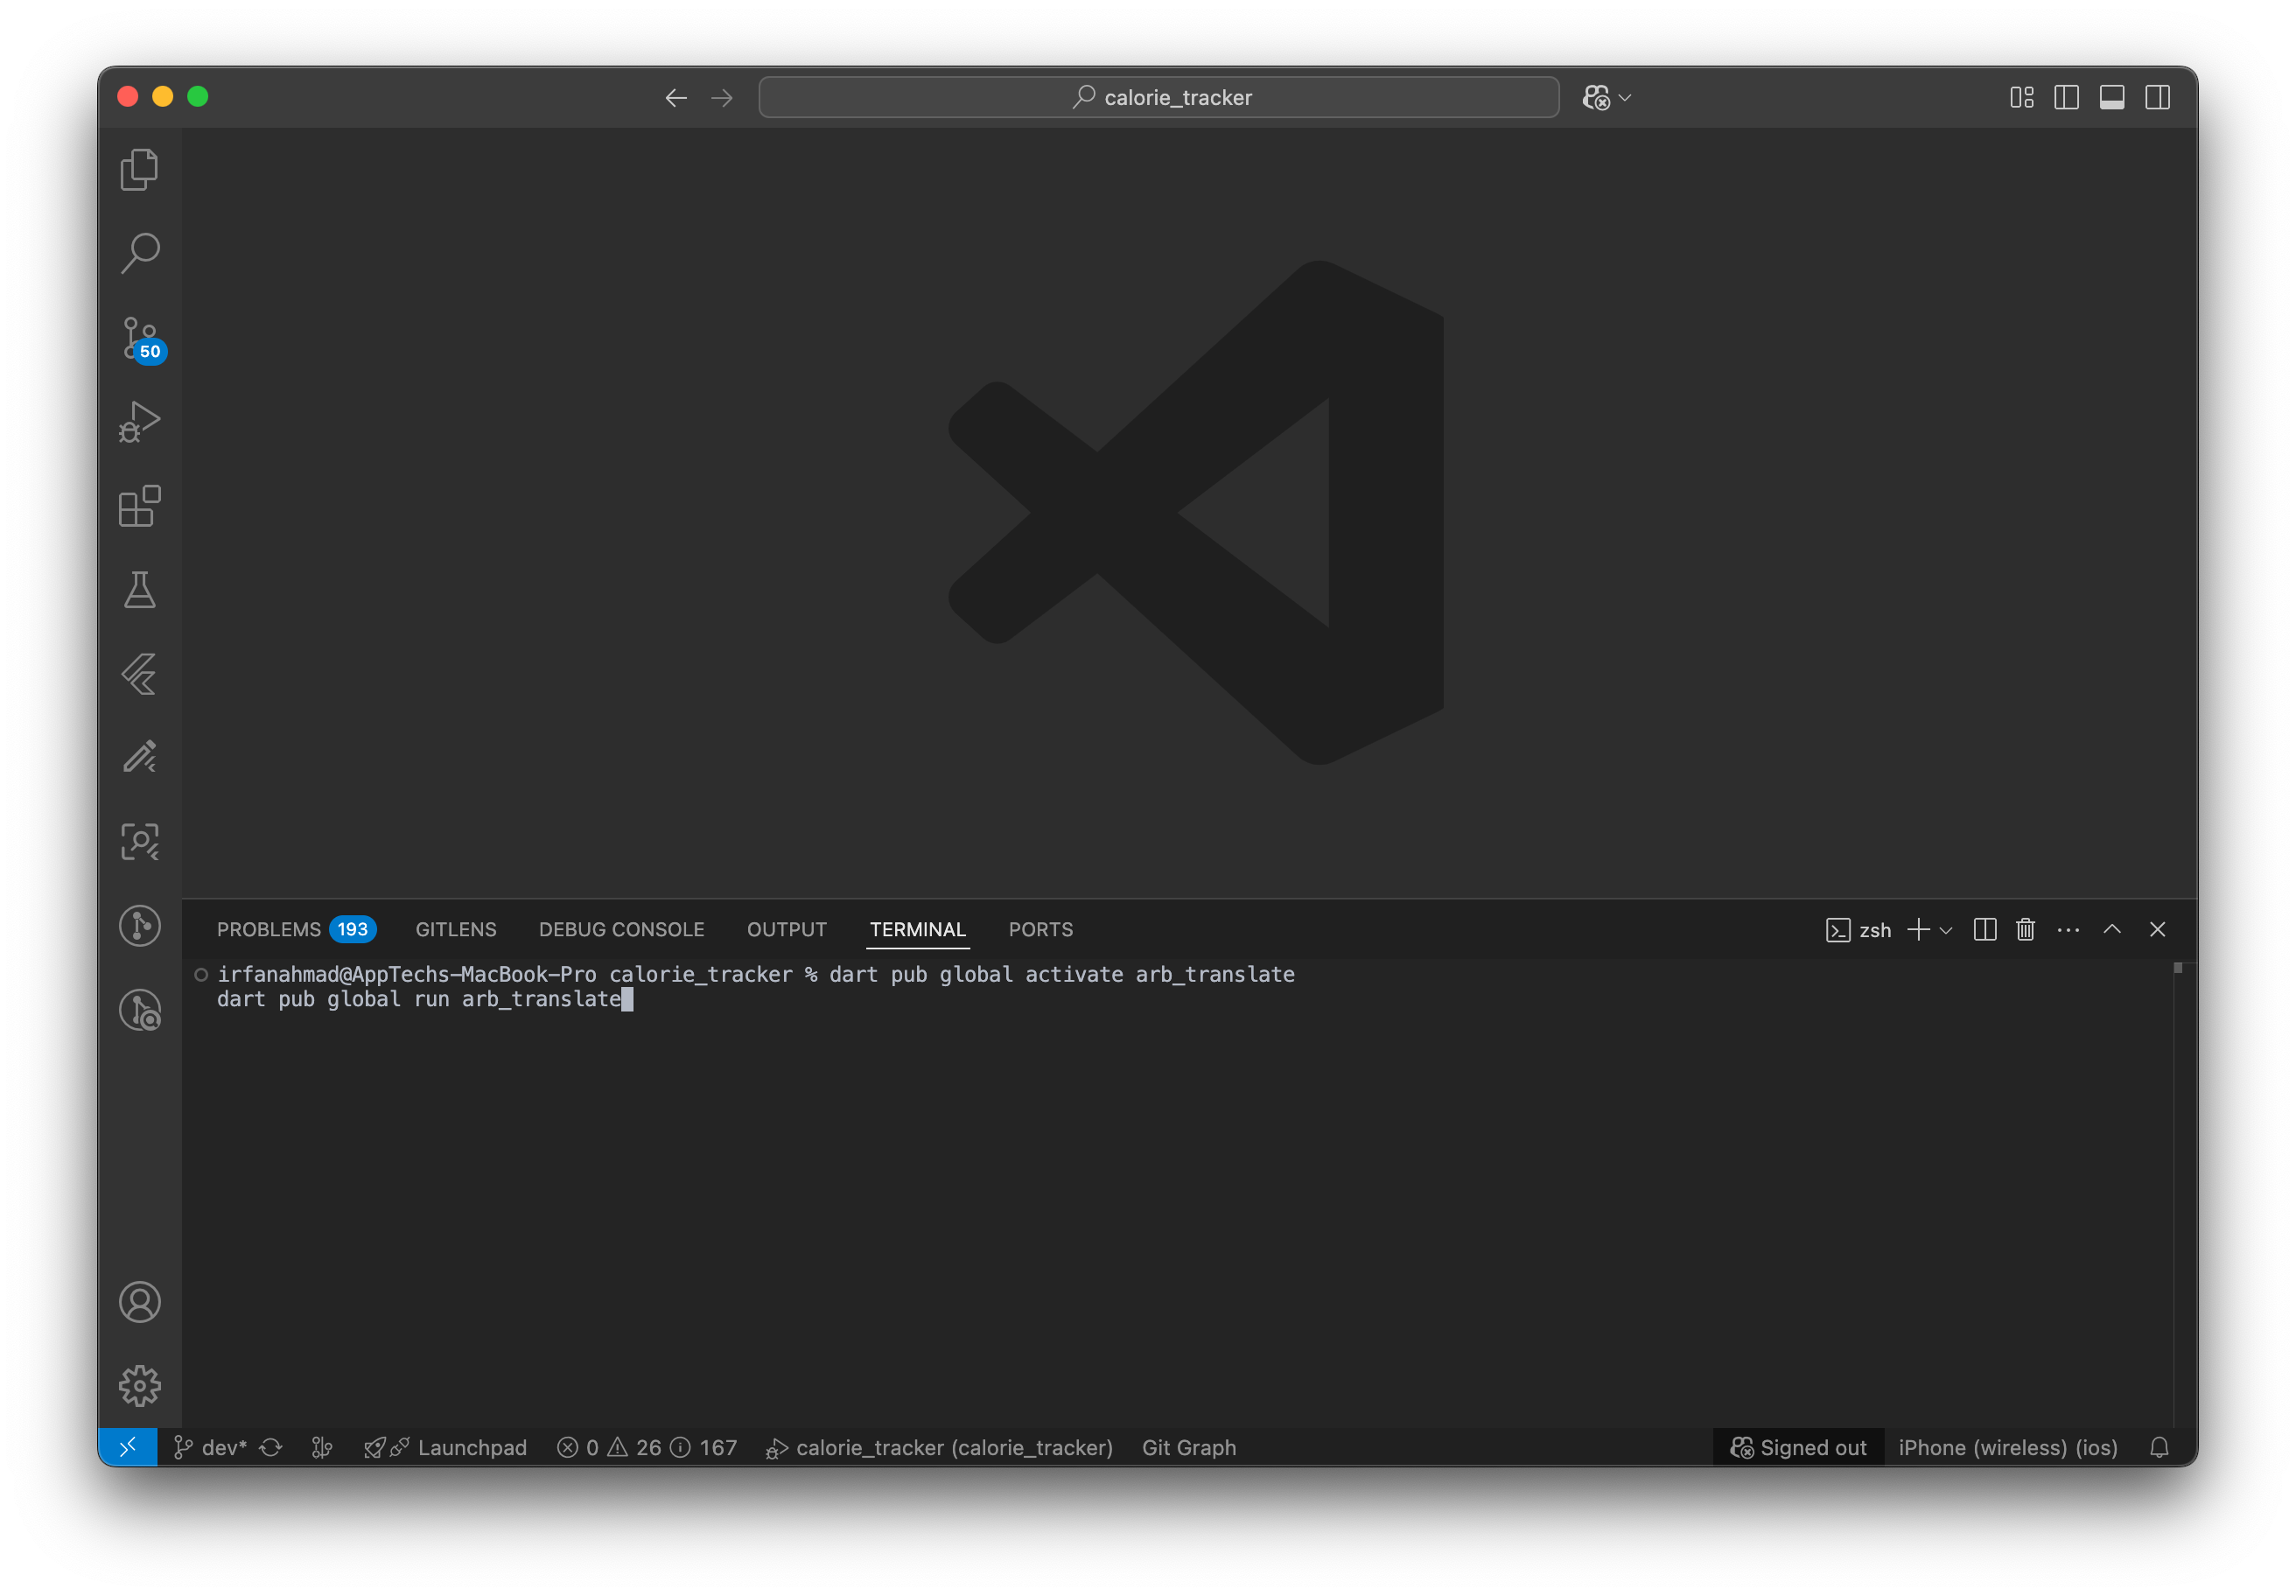
commands from translations
Arabic Transltion
Step 8 — Verify and Clean Up
Before calling it done:
- Spot-check a few translations manually. Automated translation is a huge time-saver but isn't perfect — check anything domain-specific (app-specific terminology, brand names that shouldn't be translated, etc.).
- Run the app with each target locale set on a real device or simulator, not just a debug flag — this is the only way to catch RTL layout issues, text overflow, or truncated buttons in languages like German that tend to run long.
- Check your
supportedLocalesinMaterialAppincludes every locale you just added — the extension doesn't wire this up for you automatically.
Quick Reference
Step Command / Action Install extension Search "Flutter Intl" in VS Code Extensions Add package flutter pub add intl Initialize Command Palette → Flutter Intl: Initialize Add a language Command Palette → Flutter Intl: Add Locale Extract a string Click string → yellow lightbulb → quick-fix Translate all locales dart pub global run arb_translate
That's the entire loop. Once it's set up, adding a new language later is just one more Flutter Intl: Add Locale call and one more translation pass — the
string-extraction work you already did doesn't need to be repeated.